CerealKiller's Dark War Survival
Dark War Survival — what I wish I knew on day 1
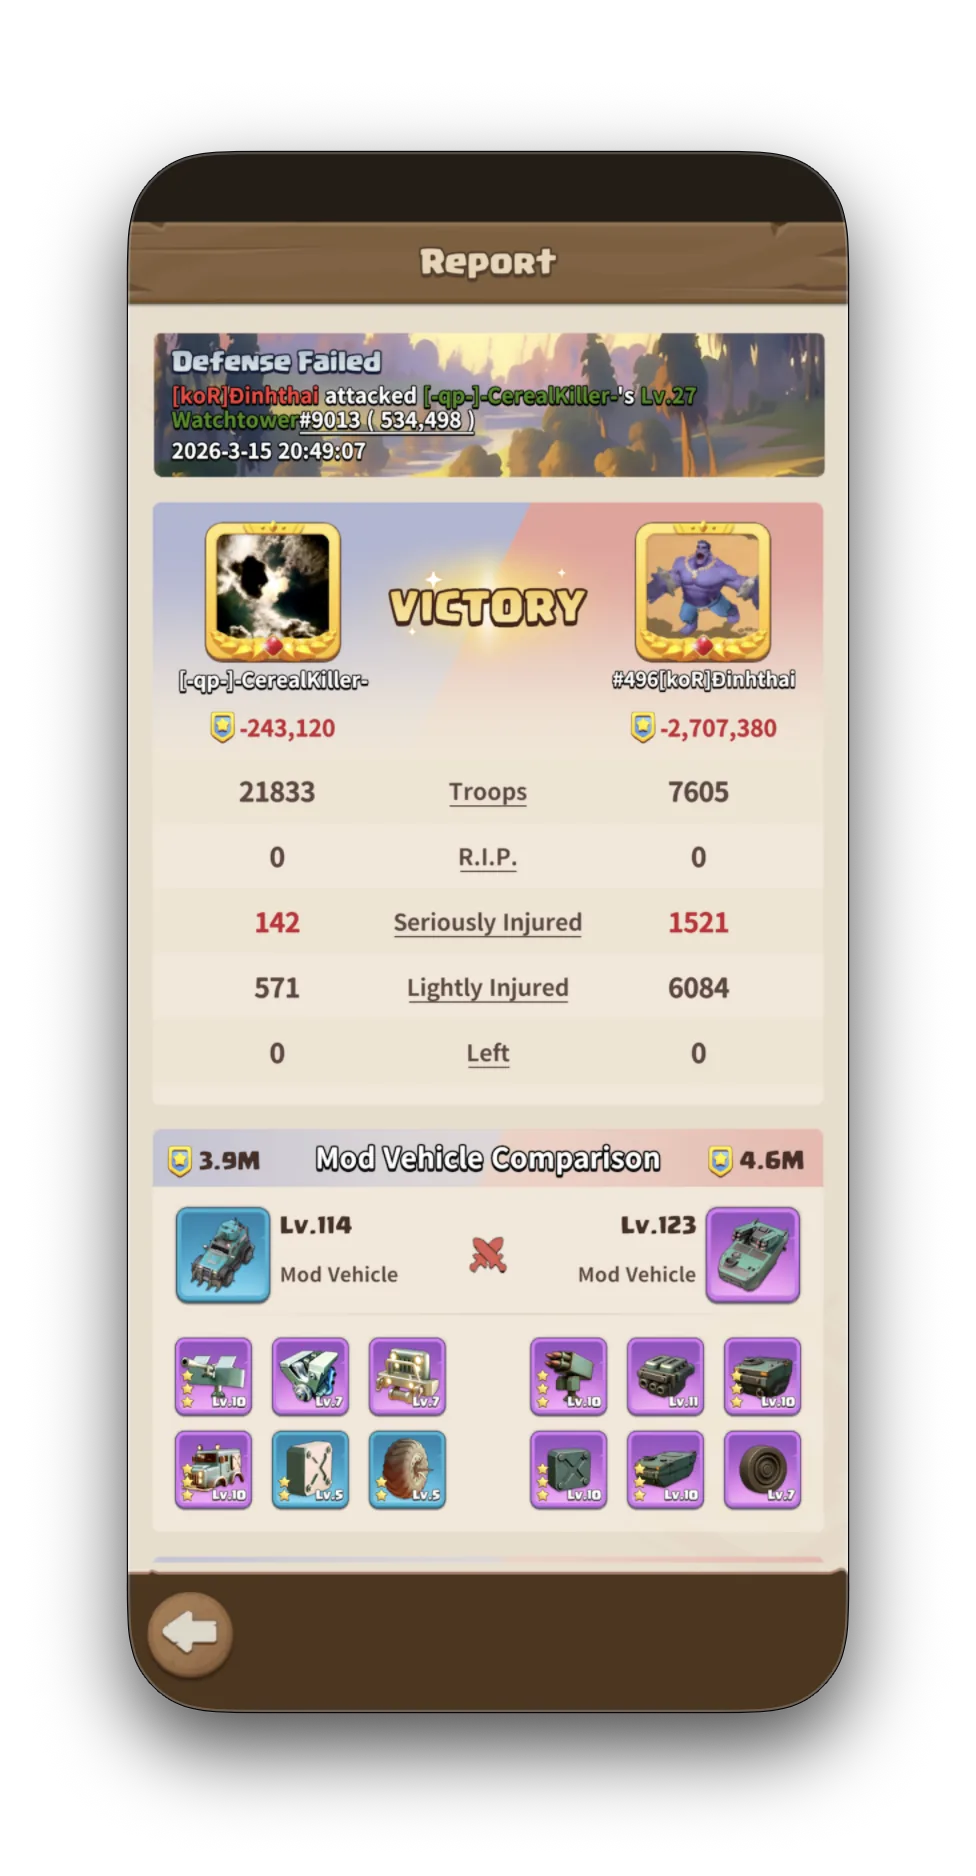
You know this screen. Now learn to read what's behind it.
Dark War is a system. Every mechanic — timers, offers, events, hero investment — is designed to extract money or time from you. You're not behind. The game is designed to make you feel that way.
Built from veteran server data, real battle reports, and in-game testing from -QP- alliance on S497. The principles apply whether you play Fighter, Rider, or Shooter.
S497 · Season 2 · -QP- Alliance